Blog
Advice For Your Ski Touring Setup
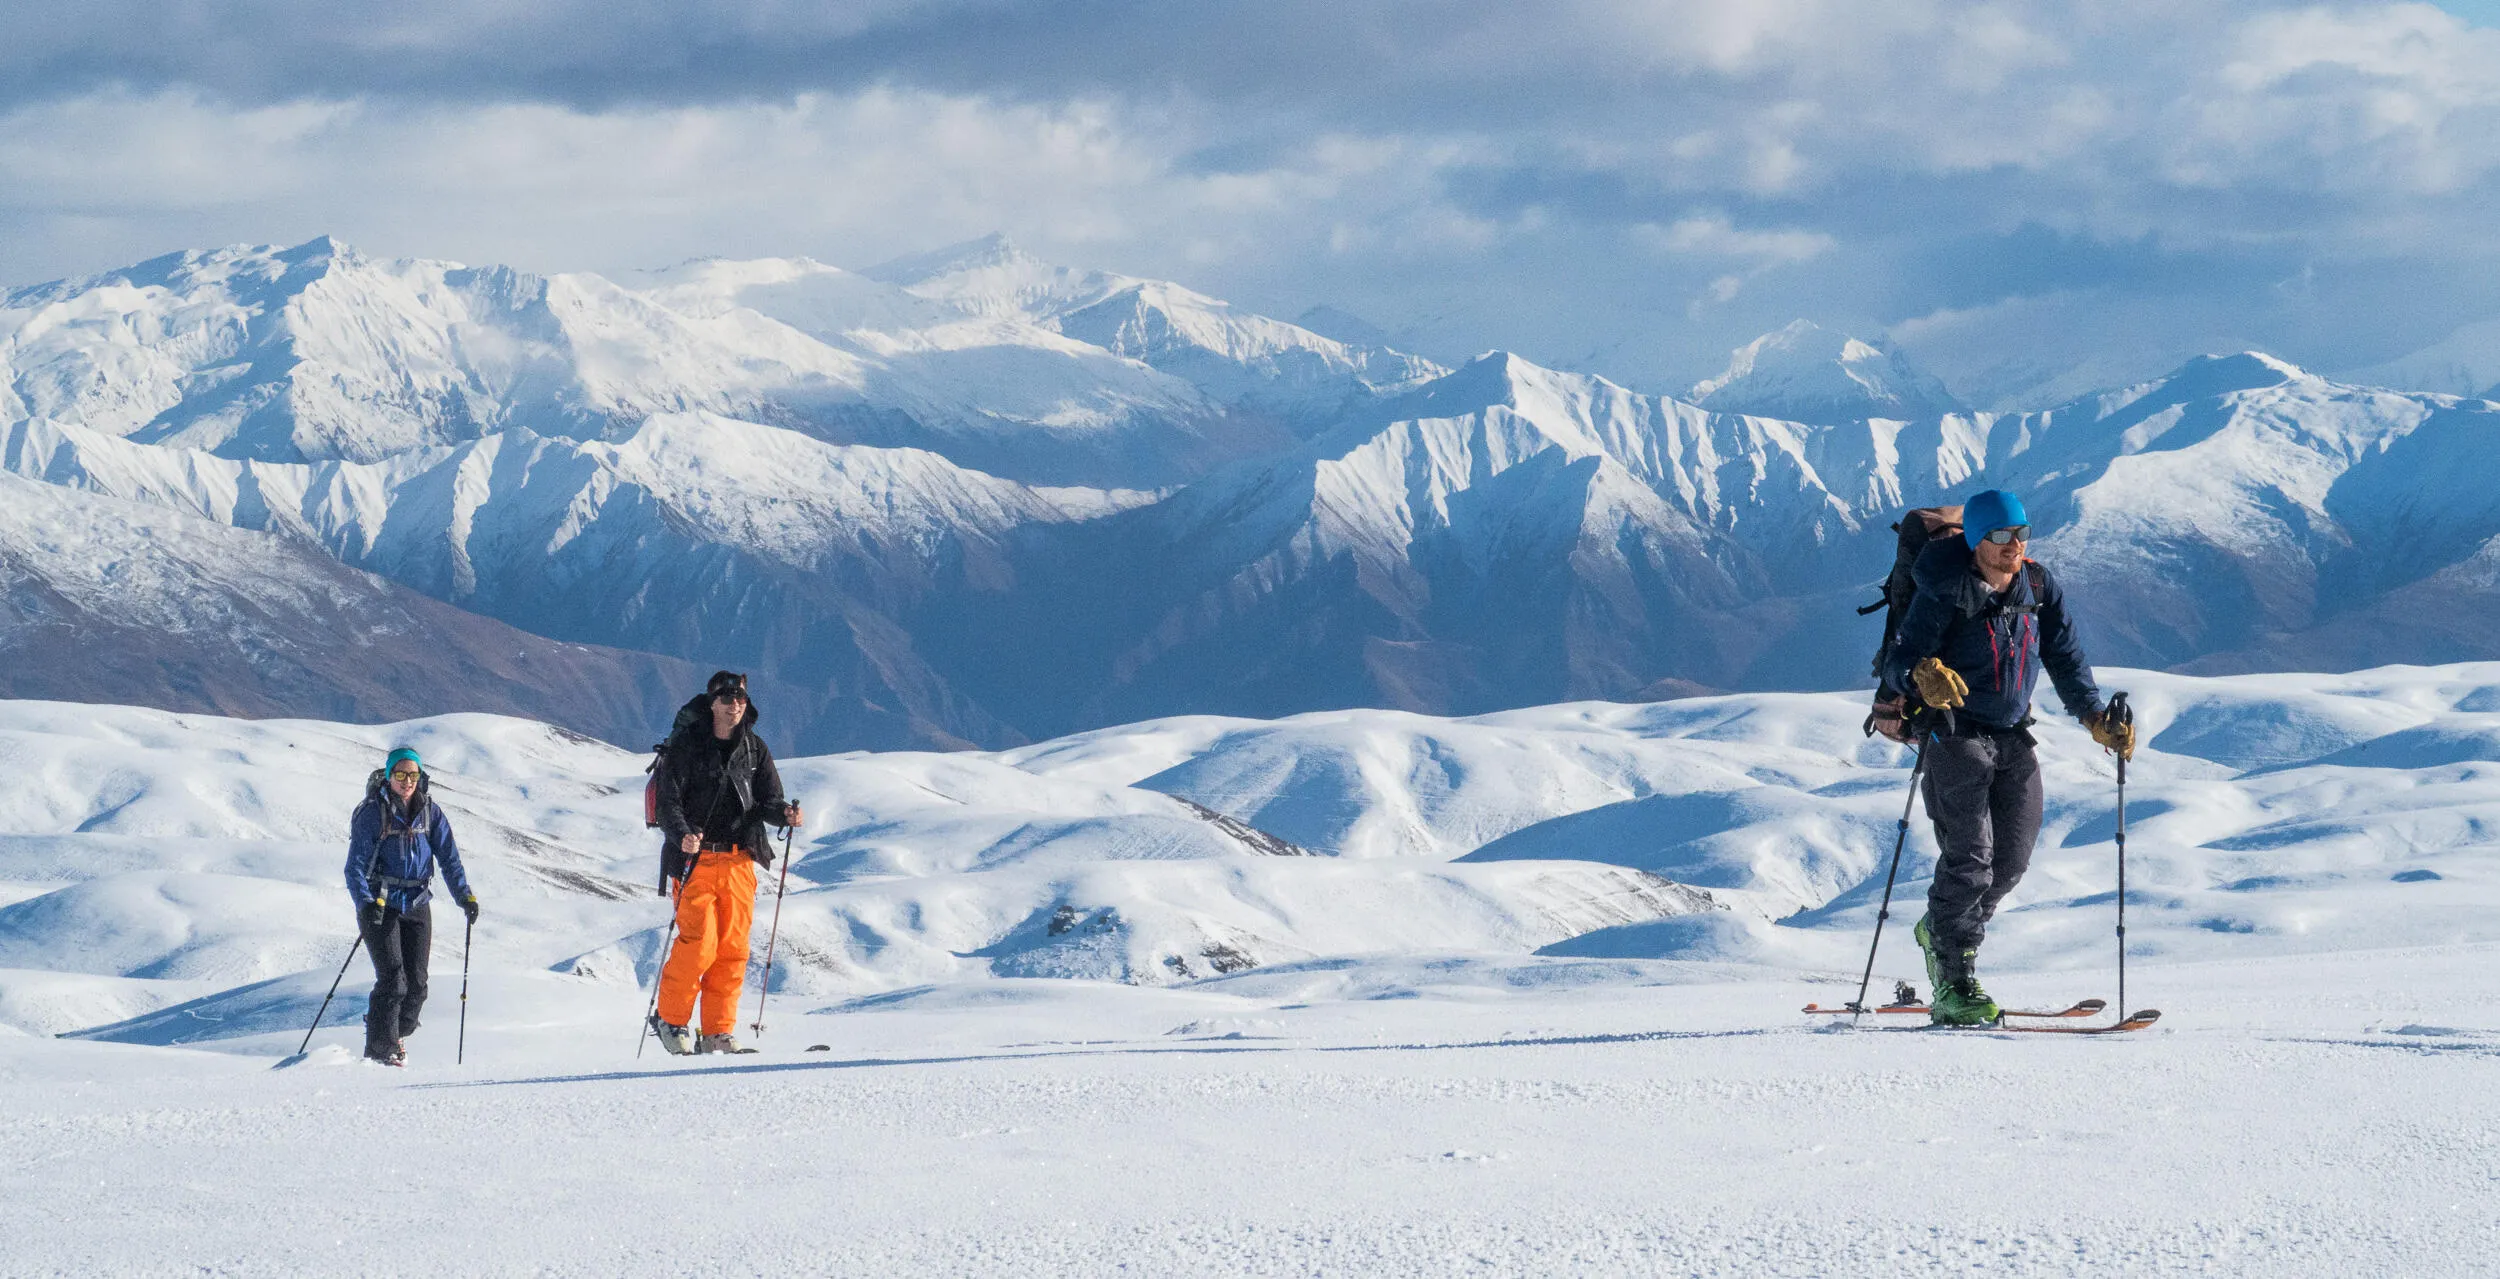
As winter approaches we often get asked advice on what gear investments to make for ski touring. Getting started is a big investment so you want to get it right. There has been a lot written about touring gear so we're going to keep it simple and as brief as possible.


Top of the expenses list are the boots, bindings and skis. Perhaps the most important items are your touring boots. Ill fitting, uncomfortable and heavy boots are the most common trip spoiler we see. The boot is also the direct interface with your skis, without a good fit you will not get the optimum performance and enjoyment from your skis.
Frame bindings are generally cheaper but are nowadays second fiddle to pin or tech bindings that win hands down in reliability, performance and, most significantly, lightness. They might take a bit of getting used to but once mastered, they are simple and easy to use. With light, modern boots and bindings you can easily get away with a heavier, less expensive and, most important, fun ski. The lightest skis (that also the most expensive and tend to have narrower waists) will not always perform well in variable NZ backcountry snow conditions (what.. never!).
Our avalanche rescue tools are mandatory equipment for backcountry travel. One is not much use without the others. Although the dearest of these items, being well practiced with your own, familiar transceiver is one of the most critical requirements for successfully rescuing your partner (although avoidance is significantly more important). There is no need to fork out for the top of the range unit with all the functions. The cheapest models tend to be simple and easy to use but do miss out on some very useful functionality particular with respect to multiple burial scenarios (again in real life go for the avoidance strategy). Go for the middle of the range unit of any brand and when it comes to practicing, you will not be disappointed.
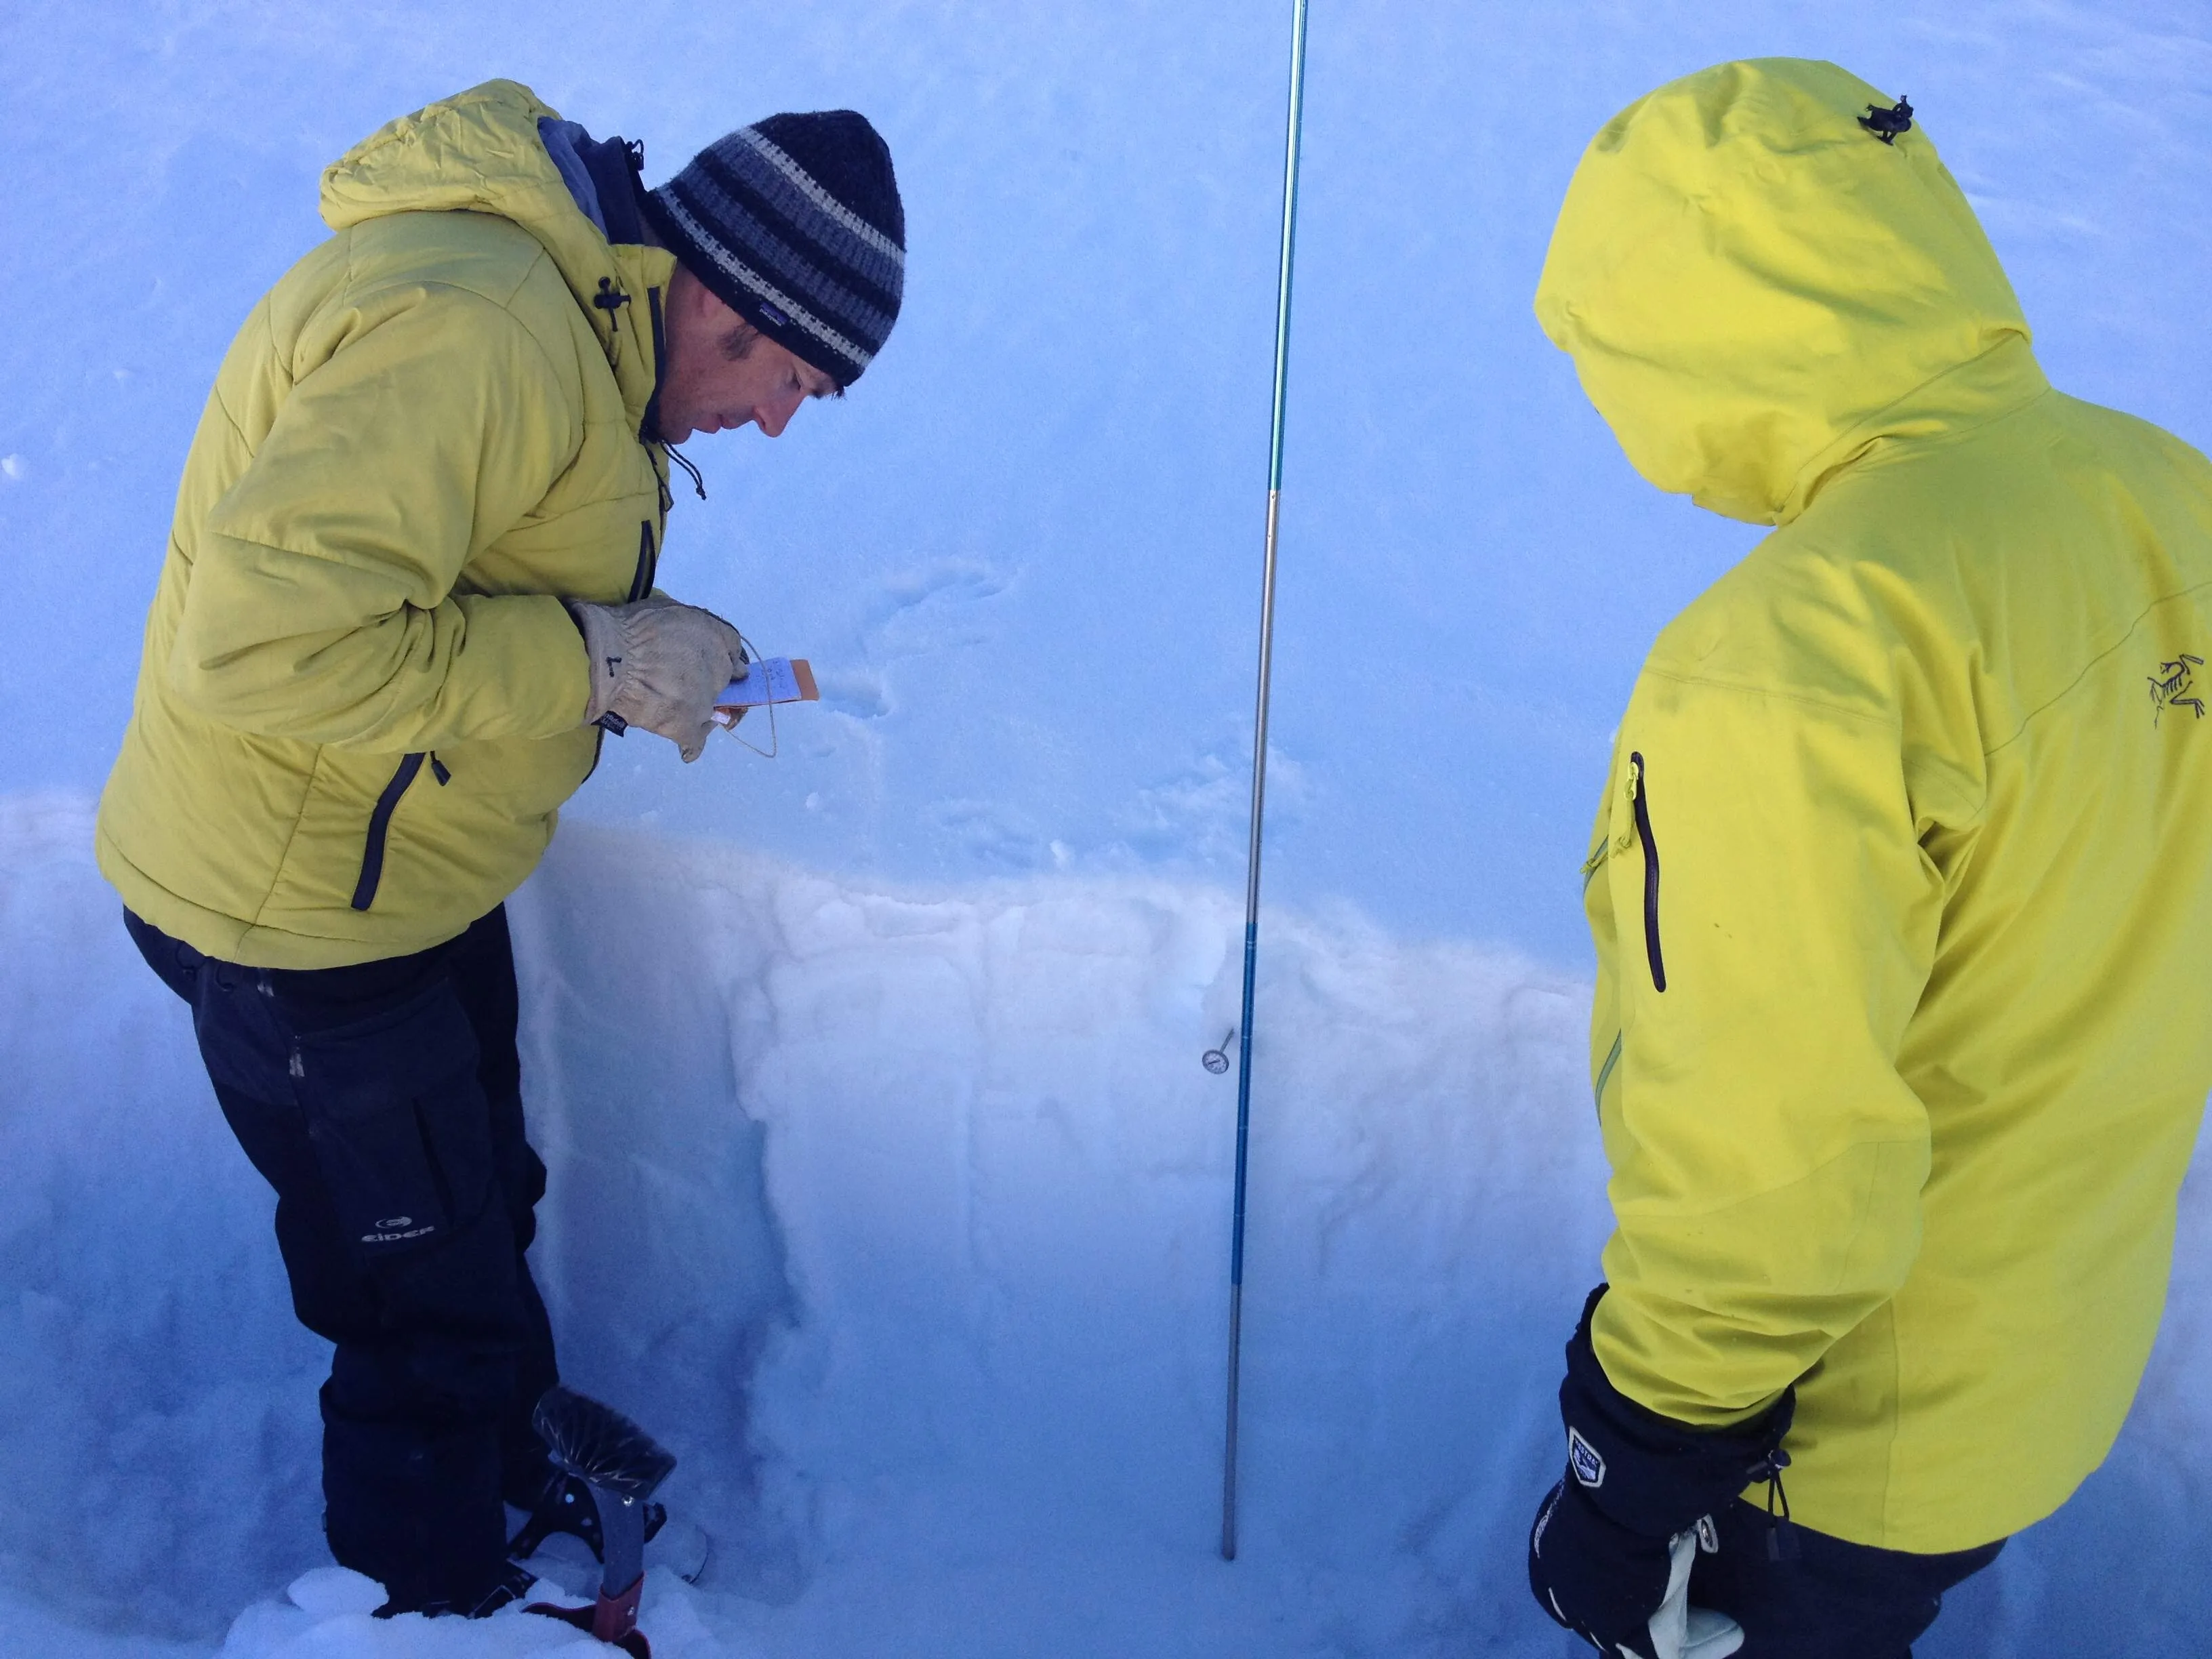
The biggest mistake people make when buying a shovel its buying the lightest model available (which again, is often the most expensive). Digging is the most time consuming part of a rescue and avalanche debris is hard. It pays to have a heavy duty shovel with a longer telescopic handle (or give a heavy duty shovel to your partner and carry their lightweight model). Finally the probe. The main thing to look out for here is that it can be deployed and locked quickly with a simple, easy to use (with gloves) and robust mechanism. I've seen too many people fumbling and wasting valuable rescue time dealing with a limp probe. Length should be between 2 and 3m, any longer will not be much use.

Treks by Aspiring Guides

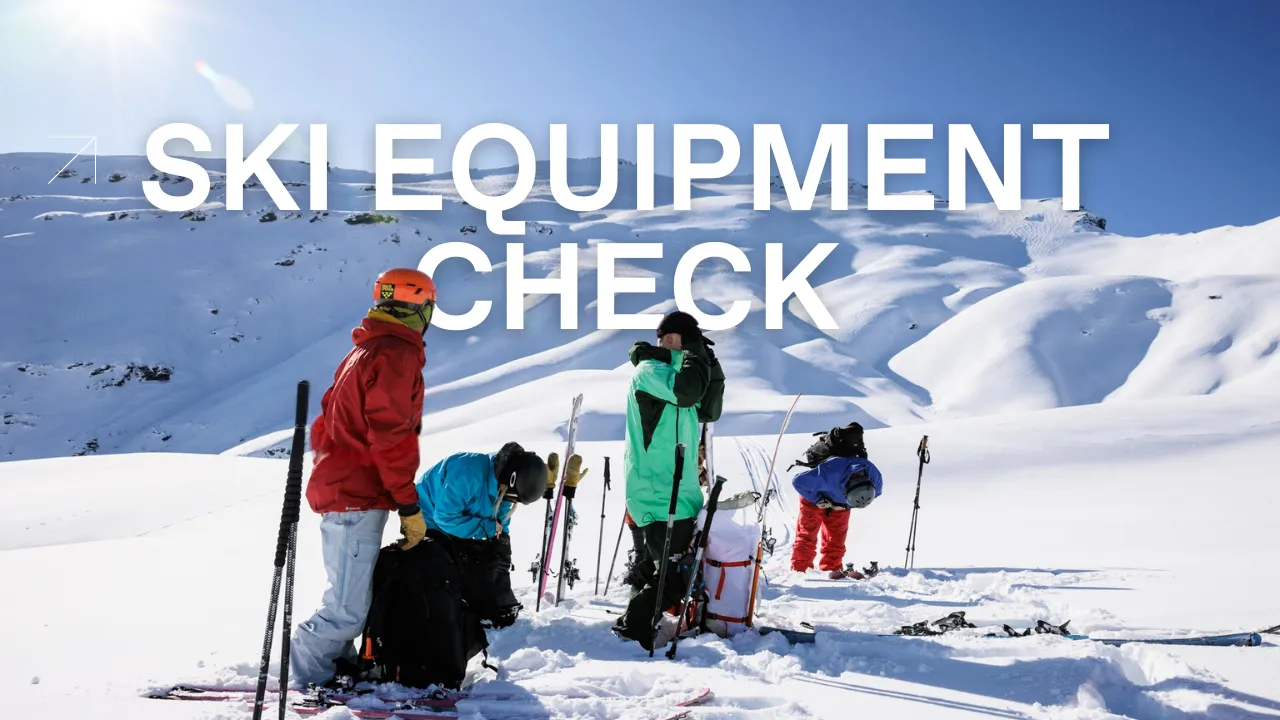
The Gear Room: Ski Trip Equipment Check
Our Top Trekking Picks for the 2024 Trekking Season
Trip Report: Spring Basecamp
Join the Aspiring Club Newsletter
We’re at our best when we’re scaling rock, ice and snow but we give this email thing a crack every so often (Monthly-ish). If you want to hear about new adventures and updates, then join our newsletter.


